
Breeze In, Bugs Out: Your Easy DIY Guide to Installing a Magnetic Screen Door
Y.Walter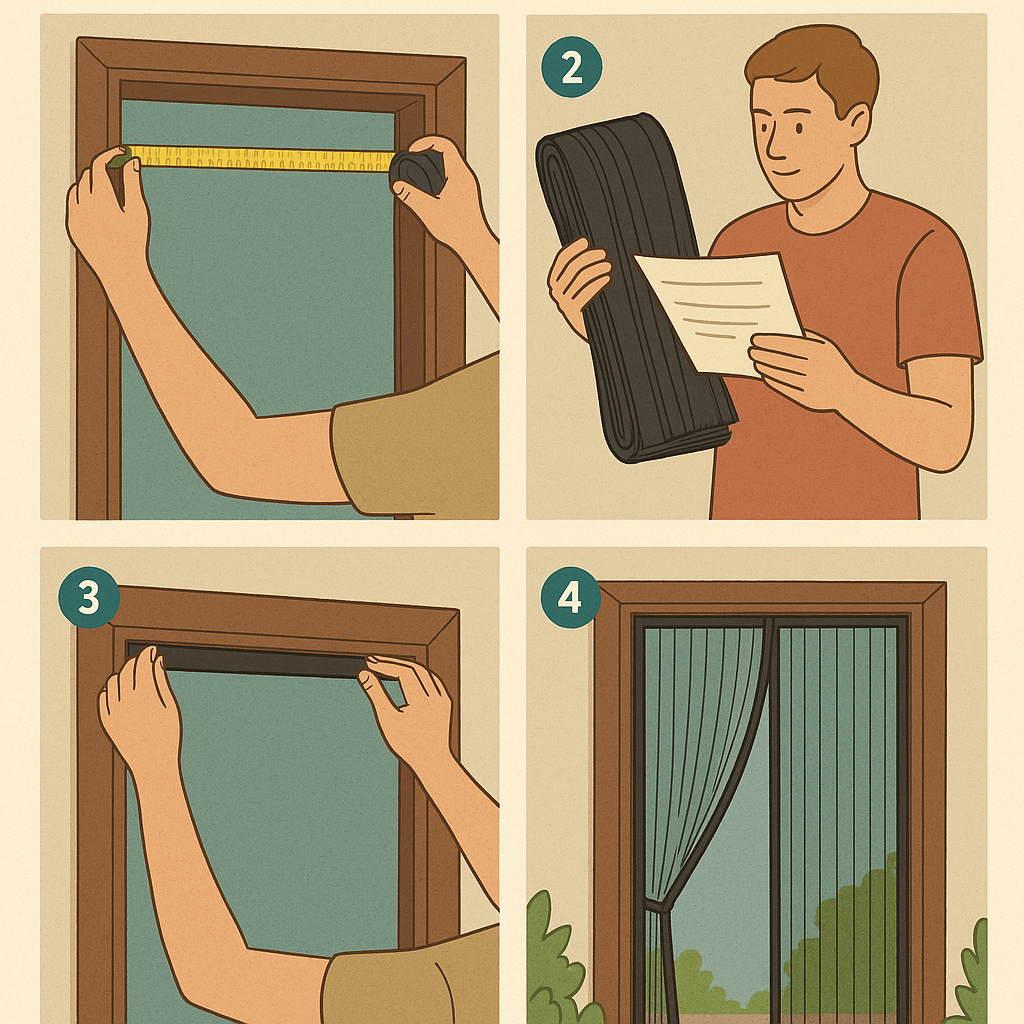
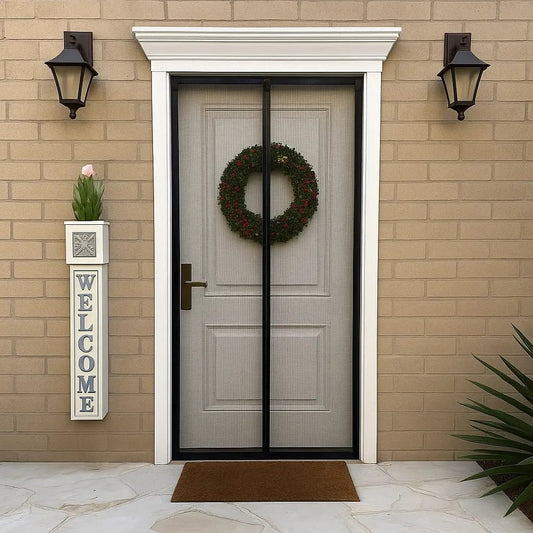
Ah, the simple pleasure of a fresh breeze wafting through your home on a beautiful day! But wait... what's that buzzing? Pesky flies, mosquitoes, and other uninvited guests can quickly ruin the serenity. Enter the magnetic screen door: a brilliant, affordable, and often surprisingly easy-to-install solution.
These screens offer a hands-free way to let fresh air in while keeping bugs out – perfect for busy hands carrying trays, for kids running in and out, and for pets who haven't quite mastered door handles. As someone who's installed a few of these and seen common pitfalls, I can tell you that success often comes down to careful preparation and following the steps correctly.
This guide will walk you through the typical installation process. While most kits are similar, always, always refer to the specific instructions included with your magnetic screen door kit, as minor variations exist. Consider this your trusted companion guide!
Why Choose a Magnetic Screen Door?
- Affordable: Much cheaper than traditional screen doors.
- Easy Installation: Most require no tools beyond scissors and maybe a measuring tape.
- Convenient: Hands-free entry and exit, magnets snap it closed automatically.
- Pet & Kid Friendly: Easy for them to push through.
- Removable: Many can be taken down easily for winter storage.
Before You Begin: Gather Your Supplies & Prep
Think of this as setting the stage for success. Rushing the prep is the #1 reason I've seen installations fail (especially the adhesive!).
You'll Likely Need:
- Your Magnetic Screen Door Kit: Check it includes the screen, adhesive strips (usually hook-and-loop like Velcro), and push pins/tacks.
- Measuring Tape: Non-negotiable for accuracy.
- Cleaning Supplies: Mild soap/detergent or rubbing alcohol, plus clean cloths/paper towels.
- Scissors: For trimming adhesive strips if needed (rarely the screen itself).
- Step Stool (Optional): For reaching the top of the frame comfortably.
- Level (Optional but Recommended): Ensures a straight, even hang for optimal magnet function.
Crucial Prep Steps:
- Measure Your Door Frame: Measure the inside opening where the screen will hang – height (top edge to threshold/floor) and width. Ensure the screen kit you bought fits these dimensions, usually needing to be slightly larger than the opening but fitting within the flat outer frame area.
- CLEAN THE FRAME: This step is PARAMOUNT for trustworthiness and effectiveness! Wipe down the entire area of the door frame where the adhesive strips will stick (top and both sides). Use your cleaner to remove ALL dust, grease, and grime. Let it dry COMPLETELY. Seriously, wait – dampness is the enemy of adhesive.
Step-by-Step Installation Guide
Okay, frame prepped? Let's hang that screen!
Step 1: Prepare the Adhesive Strips
- Lay your screen door out flat.
- Check your kit's instructions: Usually, one side of the hook-and-loop tape (often the softer 'loop' side) attaches to the screen's border. If it's not pre-attached, carefully apply it now, pressing firmly along the top and side edges on the back of the screen border.
- The other adhesive strip (often the rougher 'hook' side with the sticky backing) will go on the door frame. If it's one long roll, cut pieces to fit the top and sides of your frame area.
Step 2: Apply Adhesive to the Door Frame
- Start with the top strip. Peel the paper backing off the 'hook' strip (the one for the frame).
- Carefully align it along the top edge of the clean, dry door frame where the screen will hang. Use a level here if you have one for perfect alignment – this helps the screen hang straight.
- Press firmly along the entire strip for at least 30 seconds. Good pressure ensures a strong bond.
- Repeat this process for the side strips, peeling and pressing firmly onto the cleaned side portions of the frame.
Step 3: Hang the Magnetic Screen
- Start at the top center. Align the top edge of the screen (with its attached loop strip) to the hook strip on the frame.
- Press firmly across the top, working your way outwards from the center.
- Now, carefully attach one side. Align the screen's edge with the side adhesive strip on the frame, pressing firmly from top to bottom. Keep the screen hanging naturally straight – don't stretch it too tight, as this can prevent the magnets from aligning and closing properly.
- Repeat for the other side, ensuring the screen hangs evenly and the center opening aligns nicely.
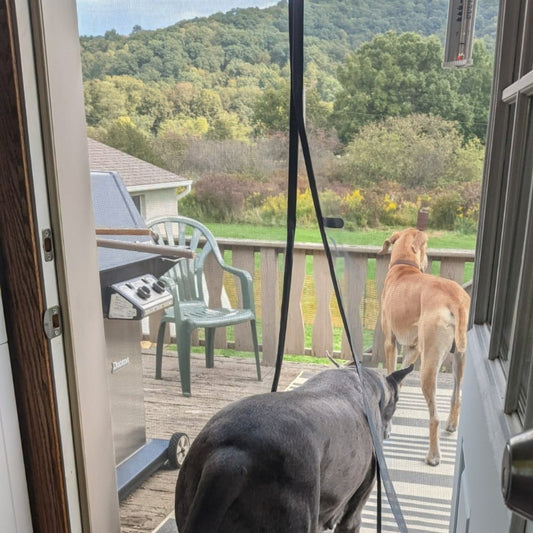
Step 4: Test the Magic (Magnets!)
- Walk through the screen a few times. The magnets along the center seam should attract each other and snap the screen closed behind you.
-
Troubleshooting: If they don't close properly:
- Is the screen hanging perfectly straight?
- Is it pulled too taut on one side?
- Are the magnetic strips directly facing each other?
- Gently peel back a section and readjust the tension or alignment as needed. Patience here pays off.
Step 5: Add Reinforcement (Push Pins)
- Most kits include push pins for extra security. This adds trustworthiness to the installation, preventing the adhesive from failing under stress (especially at the top corners or where people push through).
- Evenly space the pins along the adhesive strips, pushing them through the screen's border fabric and the tape, into the door frame itself.
- Important Note: These work best on wood frames. If you have a metal or vinyl frame, pins might not penetrate. Rely on high-quality adhesive prep, or check if your kit offers alternative fasteners for these materials.
Step 6: Final Check
- Ensure the bottom of the screen just touches or slightly skims the threshold/floor. Too much bunching can impede closure, while too large a gap lets critters in.
- Test the magnetic closure one last time.
Congratulations! Enjoy Your Bug-Free Breeze
You've done it! Installing a magnetic screen door is a rewarding DIY project that significantly improves comfort. With proper preparation and careful installation, it should serve you well. Remember to pass through gently to extend its life, and occasionally wipe down the screen and magnets if they get dusty.
Now go ahead, open that door, and let the fresh air – and only the fresh air – in!