
How to Install a Magnetic Screen Door
Y.Walter
Installing a magnetic screen door is a straightforward process that can enhance your home by allowing fresh air in while keeping bugs out. Here’s a step-by-step guide to help you get your new magnetic screen door up and running in no time.
Materials Needed:
- Magnetic screen door kit
- Measuring tape
- Scissors or utility knife
- Adhesive strips (usually included in the kit)
- Tacks or push pins (optional)
Step-by-Step Instructions:
Step 1: Measure Your Door
Before purchasing a magnetic screen door, measure the height and width of the door frame to ensure you get the right size. Most magnetic screen doors are adjustable, but it’s essential to start with a proper fit.
Step 2: Unpack and Layout
Unpack the magnetic screen door kit and lay out all the components. Familiarize yourself with the pieces, which typically include two mesh panels with magnets down the center, adhesive strips, and optional tacks.
Step 3: Clean the Door Frame
Clean the door frame thoroughly to ensure the adhesive strips will stick properly. Remove any dust, dirt, or grease.
Step 4: Attach the Adhesive Strips
Apply the adhesive strips to the top and sides of the door frame. If your kit includes velcro strips, peel off the backing and press them firmly against the door frame. Make sure they are aligned evenly.
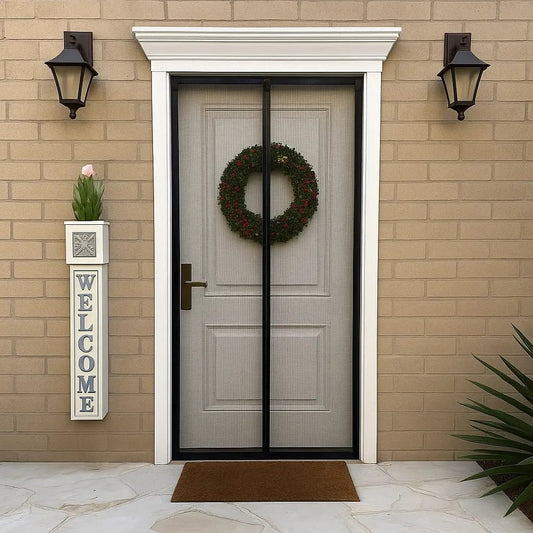
Step 5: Position the Screen Door
With the help of another person (if possible), hold the mesh panels up to the door frame. Align the top of the screen with the top of the door frame. The center magnets should meet in the middle, allowing the screen to close automatically.
Step 6: Secure the Screen Door
Press the mesh panels firmly onto the adhesive strips. Start at the top and work your way down the sides. Ensure the magnets align properly in the center so that the screen door closes seamlessly.
Step 7: Optional Tacks or Push Pins
For additional security, you can use tacks or push pins to secure the mesh to the door frame. Place them at regular intervals along the top and sides. This step is optional but recommended for high-traffic areas or windy locations.
Step 8: Test the Door
Walk through the screen door to ensure the magnets close correctly behind you. Make any necessary adjustments to the alignment.
Tips for a Successful Installation:
- Double-check measurements before attaching the adhesive strips.
- Ensure the door frame is clean and dry for the best adhesion.
- If the screen door doesn’t close properly, adjust the alignment of the magnets.
By following these steps, you’ll have a functional and convenient magnetic screen door installed in no time, enhancing your home’s comfort and airflow while keeping insects at bay.