
Stop Guessing, Start Enjoying: Your Expert Guide to Measuring for a Custom Magnetic Screen Door
Y.Walter
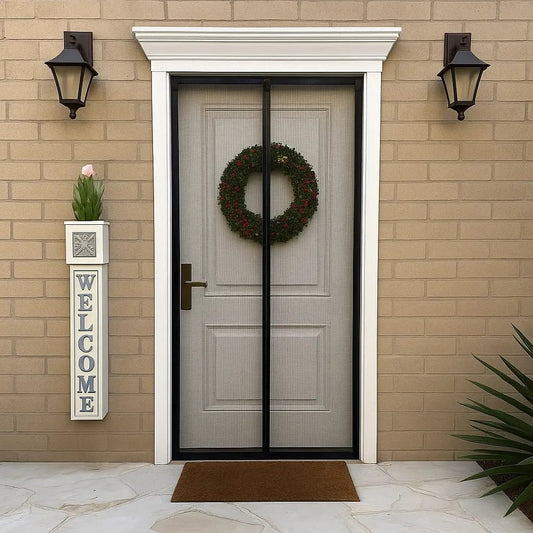
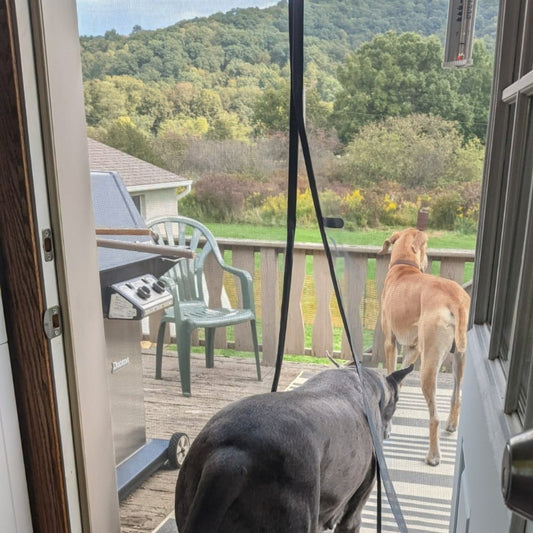
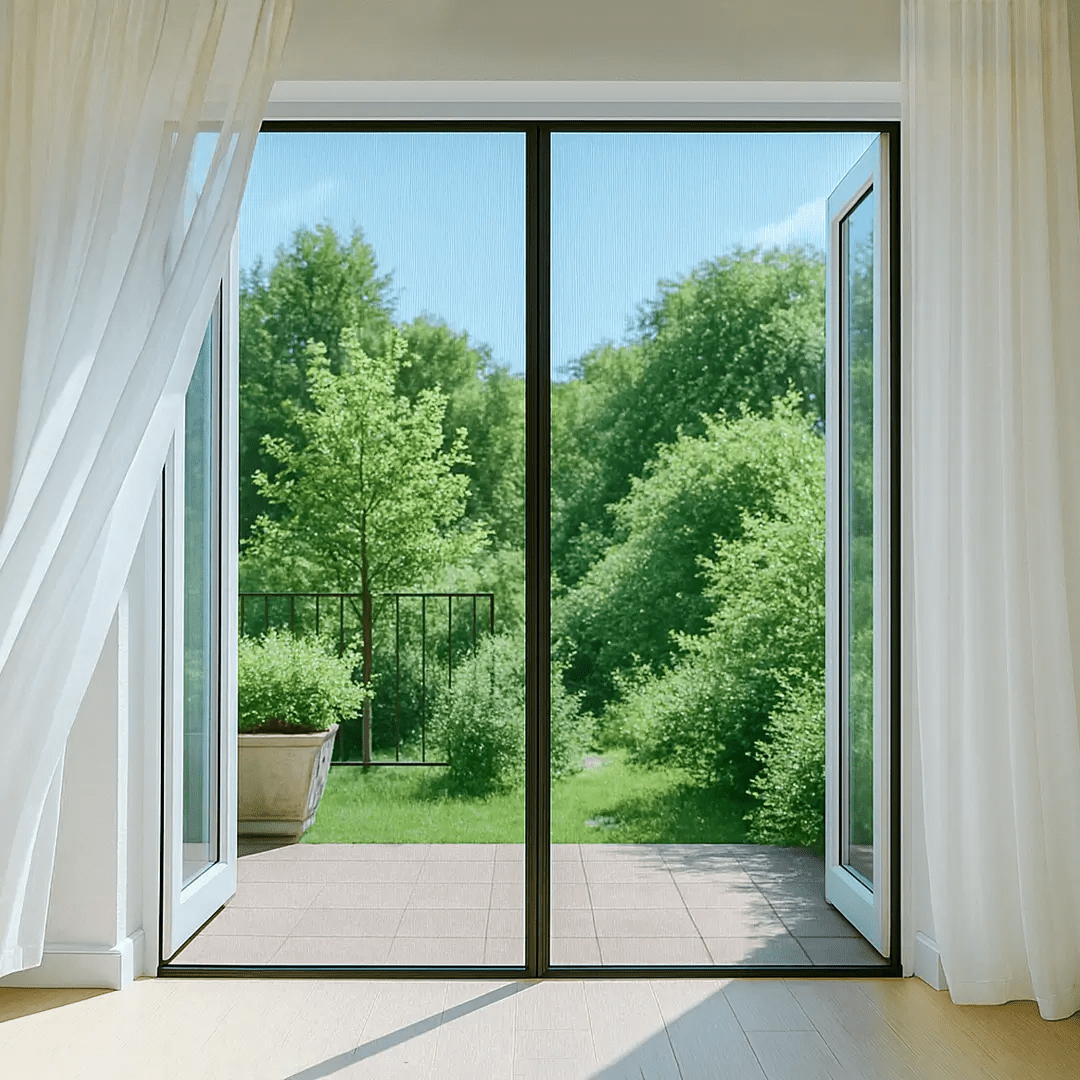
Ah, the simple pleasure of an open patio door – fresh air circulating, the sounds of outside drifting in. But wait... are those flies buzzing around the kitchen again? A magnetic screen door is a fantastic solution, offering easy, hands-free entry and exit while keeping pesky insects out.
However, many homeowners hit a snag: their patio door isn't a "standard" size. Off-the-shelf magnetic screens leave frustrating gaps or simply don't fit. The answer? A custom-sized screen! But getting that perfect, seamless fit hinges entirely on one thing: accurate measurement.
As anyone who's wrestled with a poorly fitting screen knows, getting it wrong is frustrating and defeats the purpose. This guide draws on practical experience and best practices to walk you through exactly how to measure, ensuring you order a custom magnetic screen door that fits flawlessly the first time.
Why Trust This Guide? We're focusing on the details that matter, learned from common pitfalls and installation successes, to provide clear, actionable steps based on expertise in home solutions.
The #1 Mistake to Avoid: Measure the FRAME, Not the Opening!
This is the most crucial point and where many people go wrong. You are not measuring the empty space (the opening) your door occupies. You need to measure the flat surface of the door frame surrounding the opening – this is where the screen's adhesive border (usually Velcro) will actually stick.
- Action: Identify the flat part of your door frame on the top, left, and right sides. Ensure you have at least a 1-inch wide flat surface all around for secure mounting.
Your Step-by-Step Measurement Blueprint (Expertise in Action)
Grab a reliable metal tape measure (avoid cloth ones, they can stretch!) and something to jot down your numbers. Accuracy is your best friend here.
Step 1: Measure the Width (W)
- Where: Measure the horizontal distance across your door frame, from the outer edge of the left frame to the outer edge of the right frame (where the Velcro will attach).
- Consistency Check: Measure in three locations – near the top, in the middle, and near the bottom. Frames aren't always perfectly square!
- Record: Write down the WIDEST of the three measurements.
-
Add Overlap (Crucial!): Add at least 2 inches to your widest measurement. Why? This ensures the screen fabric extends beyond the opening on both sides, providing a solid 1-inch surface area on each side for the Velcro to adhere securely to the frame.
- Example: Widest frame width = 34 inches. Your Order Width = 34 + 2 = 36 inches.
Step 2: Measure the Height (H)
- Where: Measure the vertical distance from the top edge of the door frame (where the top Velcro strip will sit) down to the threshold or floor – wherever you want the screen to end for a proper seal.
- Consistency Check: Measure in three locations – on the left side, in the middle, and on the right side.
- Record: Write down the TALLEST of the three measurements.
-
Add Overlap (Crucial!): Add at least 1 inch to your tallest measurement. Why? This provides the necessary overlap at the top for the Velcro strip to adhere securely to the top frame.
- Example: Tallest frame height = 80 inches. Your Order Height = 80 + 1 = 81 inches.
Step 3: Double-Check Everything!
Measure twice, order once! Seriously, take a moment to re-measure both width and height to confirm your numbers. This simple step prevents costly mistakes and ensures the trustworthy fit you're aiming for. Your final order size will be (Widest Frame Width + 2 inches) x (Tallest Frame Height + 1 inch).
Beyond the Tape Measure: Factors for the Perfect Screen (Authoritative Considerations)
Measurement is king, but other factors contribute to screen door success:
- Mounting Surface: Check your frame material (wood, vinyl, aluminum, etc.). Ensure the surface is clean, dry, and smooth before installation. Most kits use Velcro, but some include tacks for extra grip on wood.
-
Screen Material:
- Fiberglass: Common, affordable, good airflow.
- Polyester: Generally stronger and more tear-resistant.
- Pet-Resistant: Tighter weave, much tougher if pets might scratch (may slightly reduce airflow).
- Magnet Quality: Look for strong magnets sewn into the seam, not just clipped on. More magnet pairs usually mean a quicker, more complete seal.
- Wind Factor: Live in a windy area? Consider screens with bottom weights or extra fasteners (snaps, ties) to prevent blow-opens.
- Door Handle: Note where your main door handle is. Ensure the magnetic screen's center opening won't constantly interfere with its operation.
- Threshold Height: Ensure your height measurement accounts for clearing any raised threshold while still reaching the floor/bottom frame.
Finding Your Custom Screen & The Final Check (Trustworthy Advice)
You can find sellers offering custom-sized magnetic screens on large online retail platforms (like Amazon) or through specialized screen door websites. Search for "custom size magnetic screen door."
** vitally Important:** While this guide provides solid, experience-based instructions, ALWAYS check the specific measuring guide provided by the manufacturer or seller you choose. They may have slight variations or specific recommendations for their unique product. This is the ultimate authoritative source for the product you buy.
Conclusion: Enjoy Your Perfect Fit!
Taking the time to measure accurately using these steps is the key to transforming your doorway. No more gaps, no more ill-fitting screens – just the seamless convenience of fresh air without the unwelcome bugs. By carefully measuring your frame (not the opening!), adding the necessary overlap, double-checking, and considering the other factors, you're well on your way to installing a custom magnetic screen door that looks great and works perfectly for your unique space. Happy, bug-free relaxing!