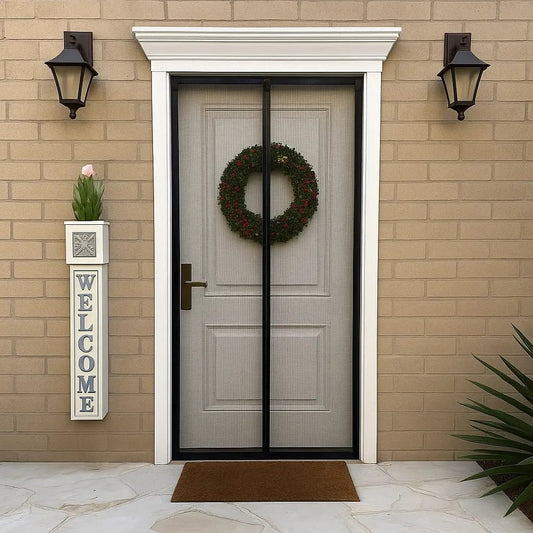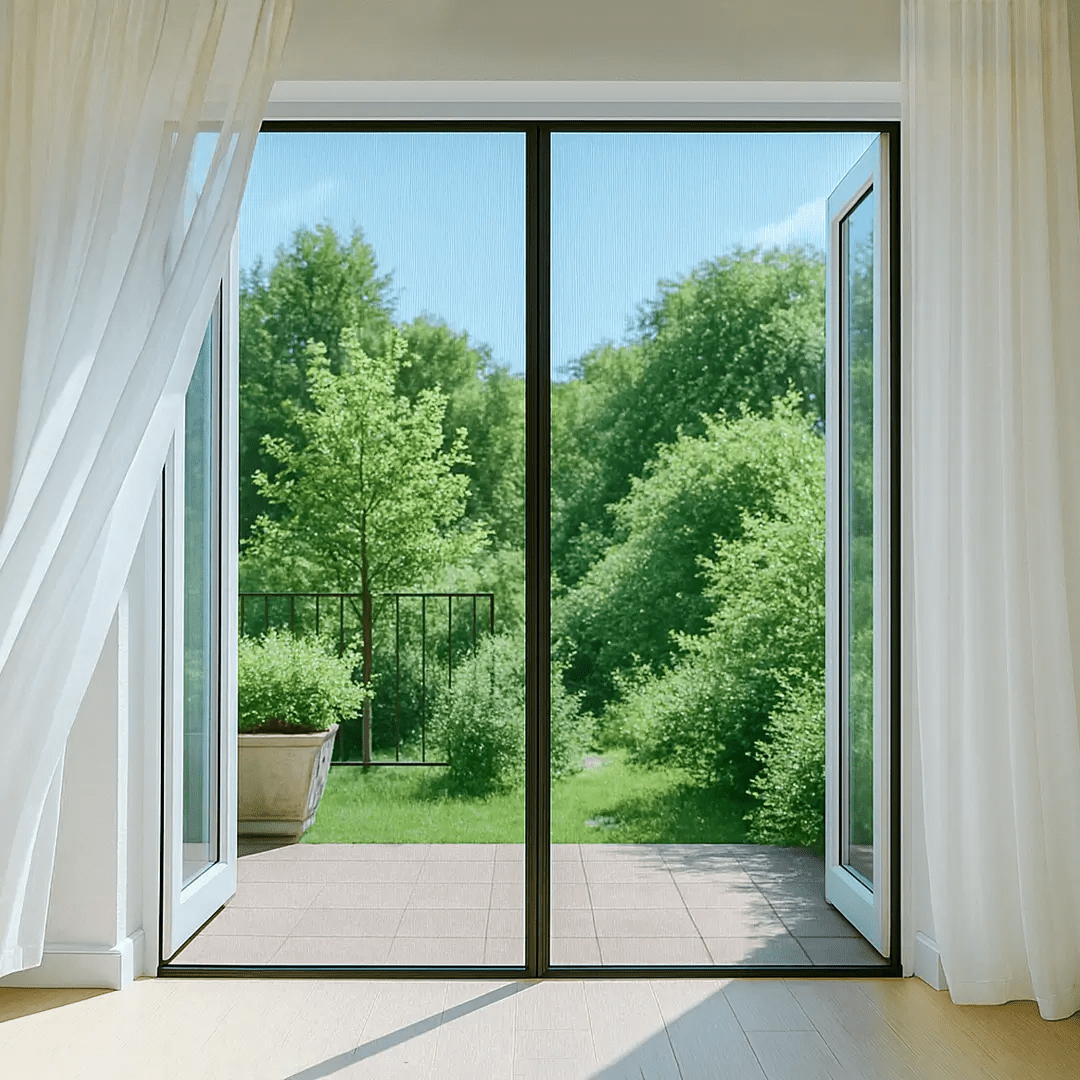

Magnetic Screen Door Installation Made Easy (Especially with Coverwith!)
Y.Walter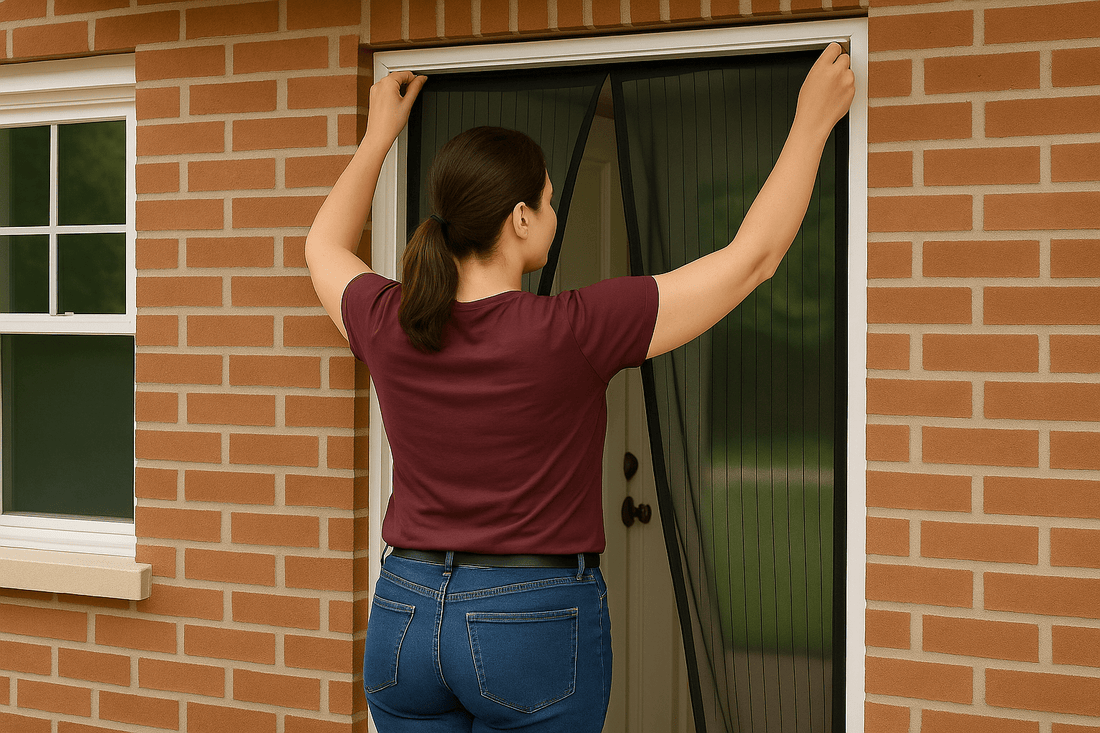
So, you're thinking about getting a magnetic screen door to enjoy some fresh air without the bugs? That's a great idea! Often, the next question is: "How hard is the magnetic screen door installation?" I'm happy to report that it's usually one of the easier home DIY projects you can tackle, often requiring no special tools. And the good news gets even better – when you opt for a high-quality, custom-fit screen like the ones we offer at Coverwith, the process becomes even more straightforward, ensuring a perfect result with minimal fuss. Let's walk through the typical steps and see how Coverwith makes it even simpler.
General Steps for Magnetic Screen Door Installation
Most magnetic screen doors follow a similar, simple installation process:
- Preparation: Unpack your screen and lay it flat to ensure the magnets align correctly in the middle. Gather the included fasteners (usually adhesive hook-and-loop strips and push pins/tacks). Crucially, clean your door frame thoroughly where the adhesive will be applied and let it dry completely. Dirt or grease will prevent a good bond.
- Attach Fasteners: Following the specific instructions for your screen, apply the adhesive hook-and-loop strips. Usually, one part goes on the screen's edge, and the mating part goes onto the door frame.
-
Hang the Screen: This is the most important part for proper function:
- Start at the Top Center: Peel the backing from the top center adhesive strip. Carefully align the center of the screen's top edge with the center of your door frame's top edge. Press firmly.
- Work Outwards and Down: Slowly peel the backing off the remaining top strips and press the screen onto the frame, moving towards the corners. Then, work your way down each side, ensuring the screen hangs straight and isn't stretched too tight. It needs a little slack for the magnets to attract each other easily.
- Check the Bottom: Make sure the screen hangs just above the floor – it shouldn't drag, but there shouldn't be a large gap either.
- Reinforce (Recommended): If your kit includes push pins or tacks and you have a wooden door frame, use them! Press the tacks through the hook-and-loop tape into the wood frame for a much more secure, long-lasting hold, especially at the top corners and along the sides.
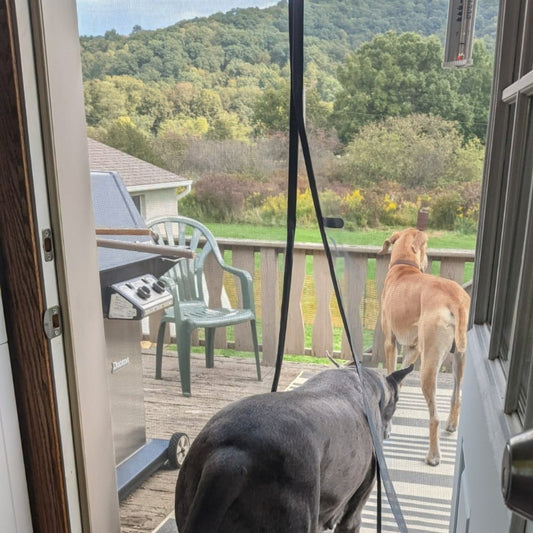
- Test: Walk through the screen multiple times from both directions. Ensure the magnets snap back together completely every time. If not, you may need to slightly adjust the positioning on the sides.
How Coverwith's Custom Fit Simplifies Installation
While the general process is easy, using a standard-size screen often involves fiddling to get the fit right. Here's where Coverwith's custom sizing makes installation even easier:
- No Guesswork or Trimming: Your Coverwith screen arrives made to your exact door frame measurements. There's no need to worry about it being too long and needing trimming (which can cause fraying) or too short/narrow, leaving gaps.
- Easier Alignment: Because it's the perfect size, the screen naturally hangs correctly. Aligning the top center and smoothing it down the sides becomes much more foolproof.
- Perfect Seal, First Time: The custom fit ensures the magnetic seam aligns perfectly right away, providing that satisfying, secure snap closure without needing multiple adjustments.
- Professional Finish: A screen that fits exactly right simply looks better – no bunching, sagging, or awkward gaps.
Coverwith Quality Matters Too
Beyond the fit, using Coverwith's high-quality materials – whether you choose durable Fiberglass or high-visibility Polyester – along with strong adhesive and reinforced stitching means your easy installation will also be a lasting one.
Get Started with Coverwith
Ready for the easiest magnetic screen door installation possible? Measure your door frame opening, visit our website, select your material, and enter your custom dimensions.
Ready for an easy installation? Order your Coverwith screen here!
Conclusion
Installing a magnetic screen door is definitely a manageable DIY task for almost anyone. By choosing a high-quality, custom-fit screen from Coverwith, you make that simple process even smoother. The perfect sizing eliminates common installation headaches and guarantees your screen looks great and functions perfectly from the moment you put it up.
Quick Installation Tips Checklist:
| Tip | Action | Why It Helps |
|---|---|---|
| Measure First | Get accurate door opening dimensions before ordering | Essential for Coverwith's custom fit! |
| Clean Frame | Wipe down door frame thoroughly & let dry | Ensures adhesive sticks properly |
| Start Top Center | Align screen middle with frame middle, attach top first | Helps screen hang straight |
| Check Clearance | Ensure screen doesn't drag, leave slight slack for magnets | Allows proper closure |
| Use Tacks | Add push pins/tacks (on wood frames) for extra hold | Increases security & longevity |
| Test Closure | Walk through several times after installing | Confirms magnets align and seal correctly |